Intro
This Intro should give you an overview of koalixcrm’s basic functions and structure.
Basic Structure
koalixcrm tries to keep its structure near the real world objects it represents. Lets say you want to register a customer in koalixcrm then you find a customer in your koalixcrm. When you receive a question for a quote, you find the quote in your koalixcrm. Same for many kind of business objects you know in your company. Every such real world objects is represented in the admin start page (called “dashboard”) as row of the Applications table. Every object has a name - of cause - an Add and a Change button. When you want to create a customer you just press the “Add” button in the Customers row and you will see a form (called “object_modify_view”) to fill out for your customer. By pressing the Change or name button (eg “Customers”) of the object you see a list of all objects (called “objects_list”) you have already saved.
dashboard
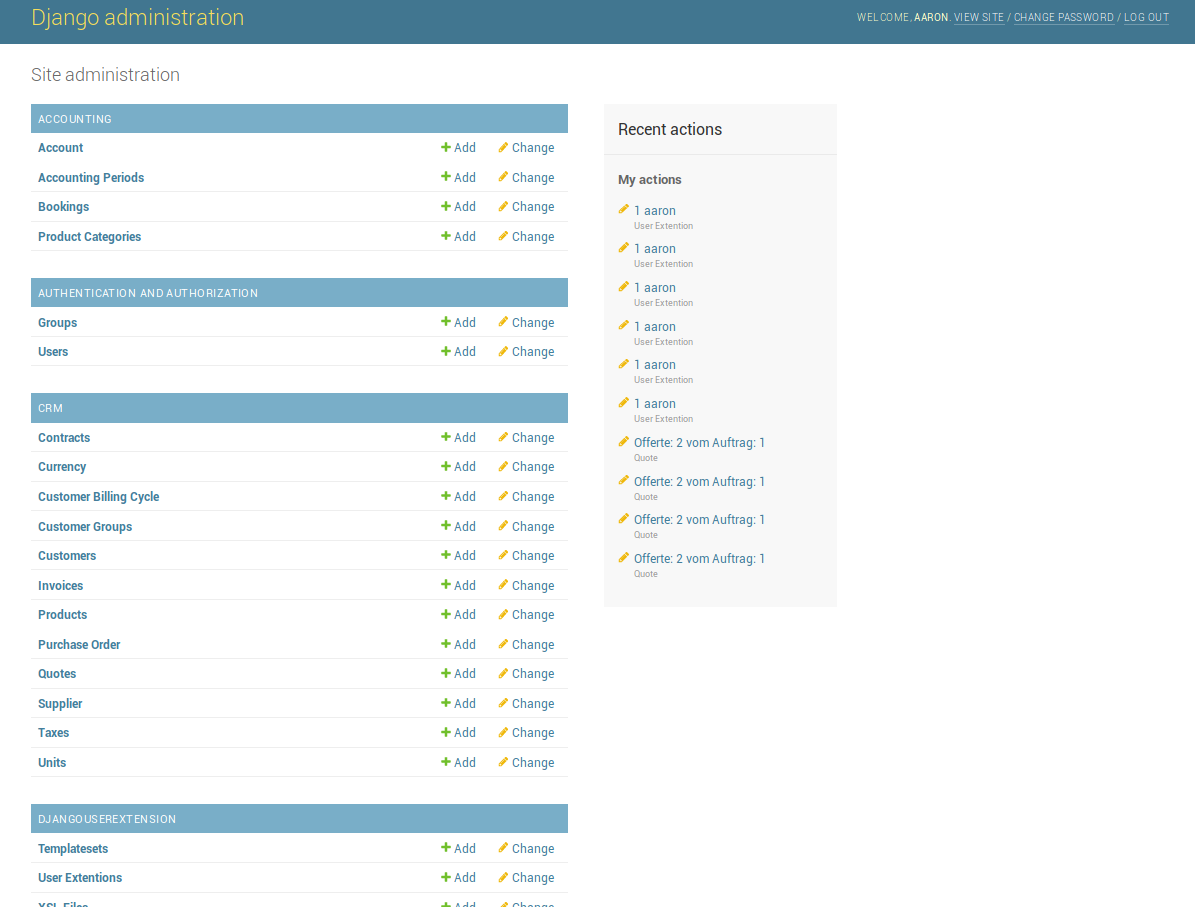
The dashboard (“Site Administration”) is the place you start after logging in. In the dashboard you find a list of all object types (called objectlist) in three groups (called applications): crm, accounting and djangoUserExtentions.
Administrator only
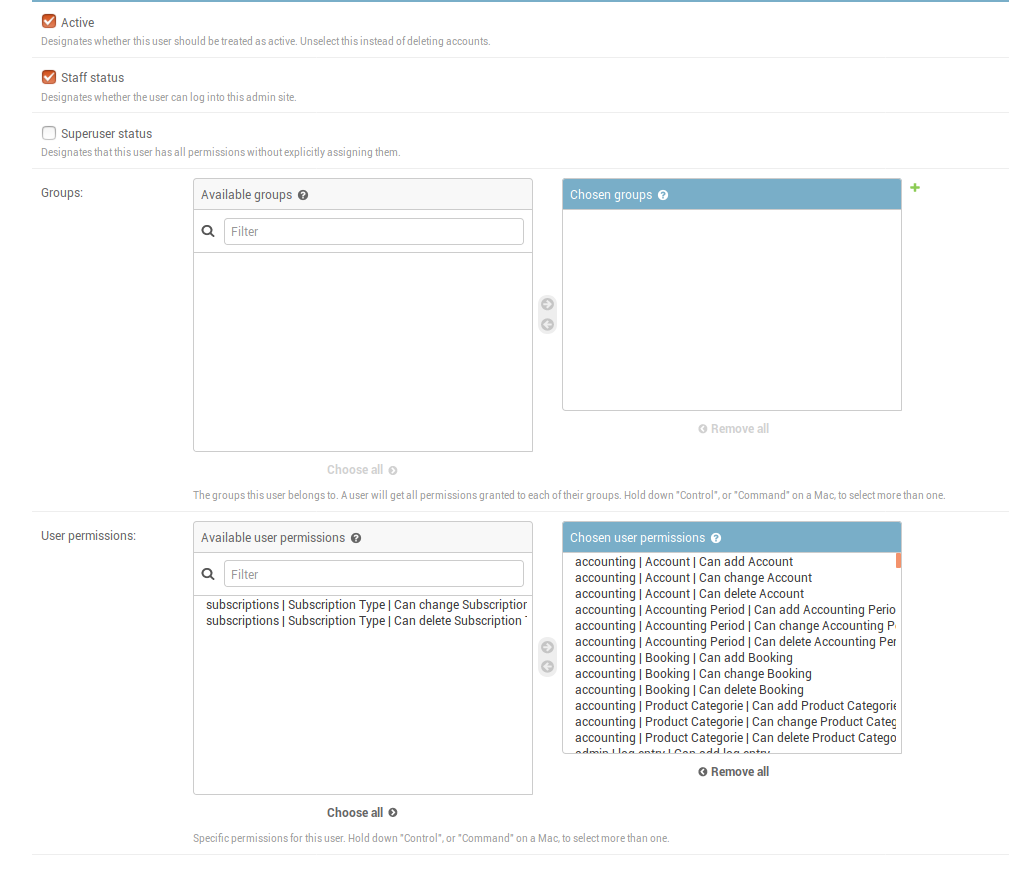
When you are administrator, you can also see a group called auth where you can manage users and groups. During the installation you are asked to create a first, administrator user. Every new user after that starts with no privileges. To be able to log in to koalixcrm the new user must be moderator. When you want to create an accounting-only user you must select all accounting privileges in the user_modification_view.
objects_list
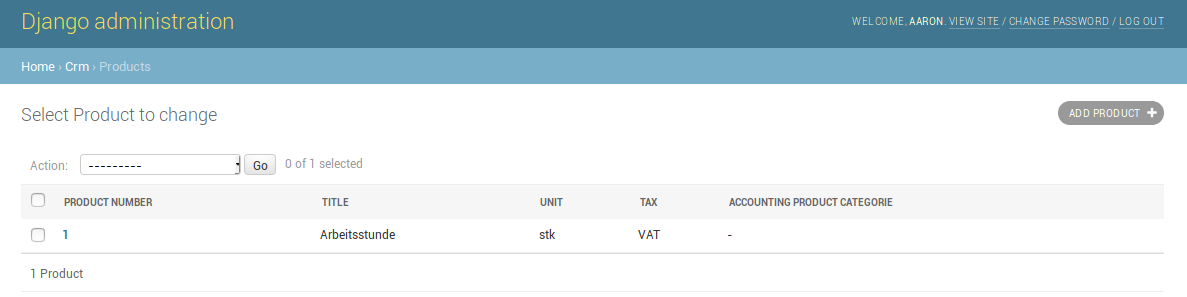
From the dashboard you are able to select one object type by clicking on the name of it. What you get is a quite detailed list of objects of this object type.
To modify an object you simply press press on the id of the object to get to a form-view of the object.
Adding A New Object To The List
To add a new object to the list you simply have to press the “Add button” on the top right of the page
Apply An Action On An Object
Applying actions to objects is a basic point of using koalixcrm. To be able to remove objects from your list you have to select all objects you want to remove by clicking on the checkbox on the left side of the object list.
When you finish making your selection you will see a new selection field rising from the bottom of your page. Here you can select what action you would like to to apply to the objects. Serveral things can be done with these actions.
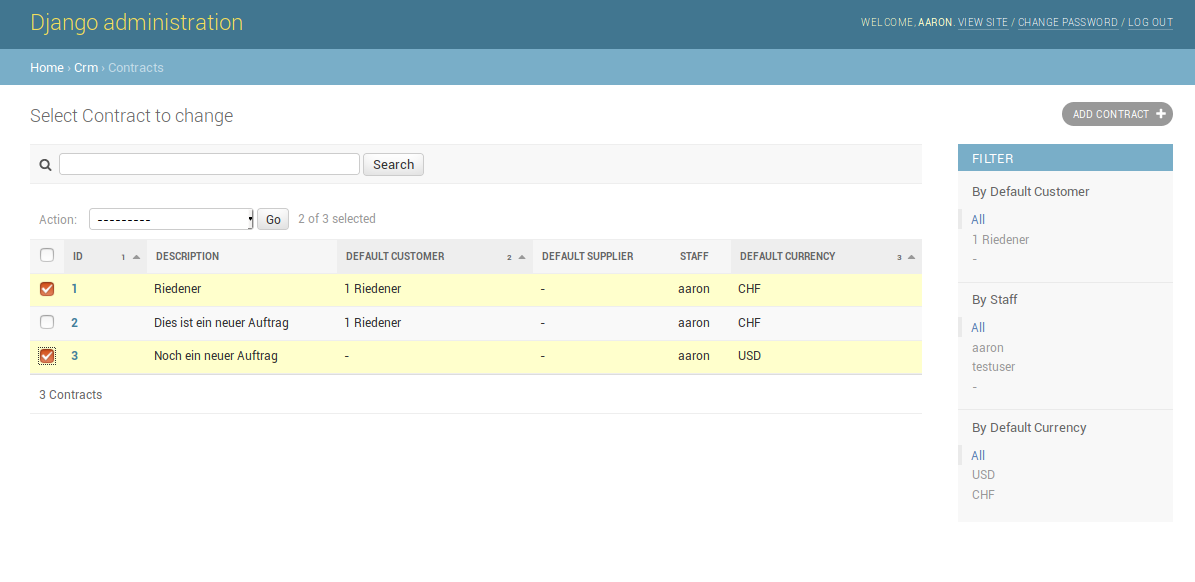

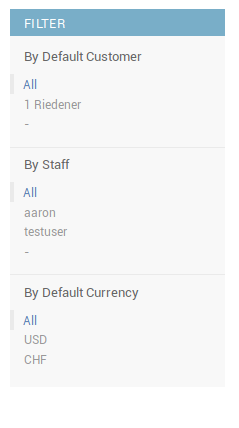
Apply A Filter On The List Of Objects
On some list of objects you may apply filter functions. This filter function can be found on the right side of the page. Depending on the filter you apply on the list you get a smaller number of objects
Do A Search Through All Objects
The more objects you registered in your system, the more difficult it becomes to find the one you are looking for. On some object lists you will find a search box. The keywords you enter in this searchbox will be searched in the objects name, id, description and so on. All objects that include your selected keywords will be displayed in the list.

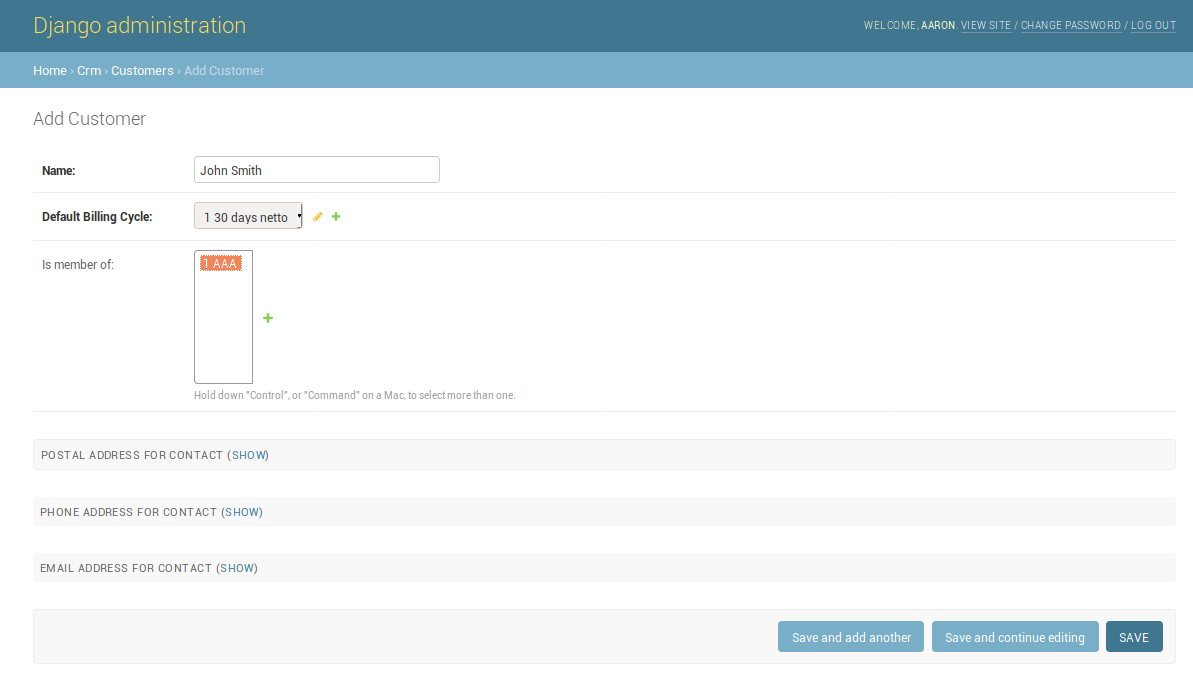
object_modify_view
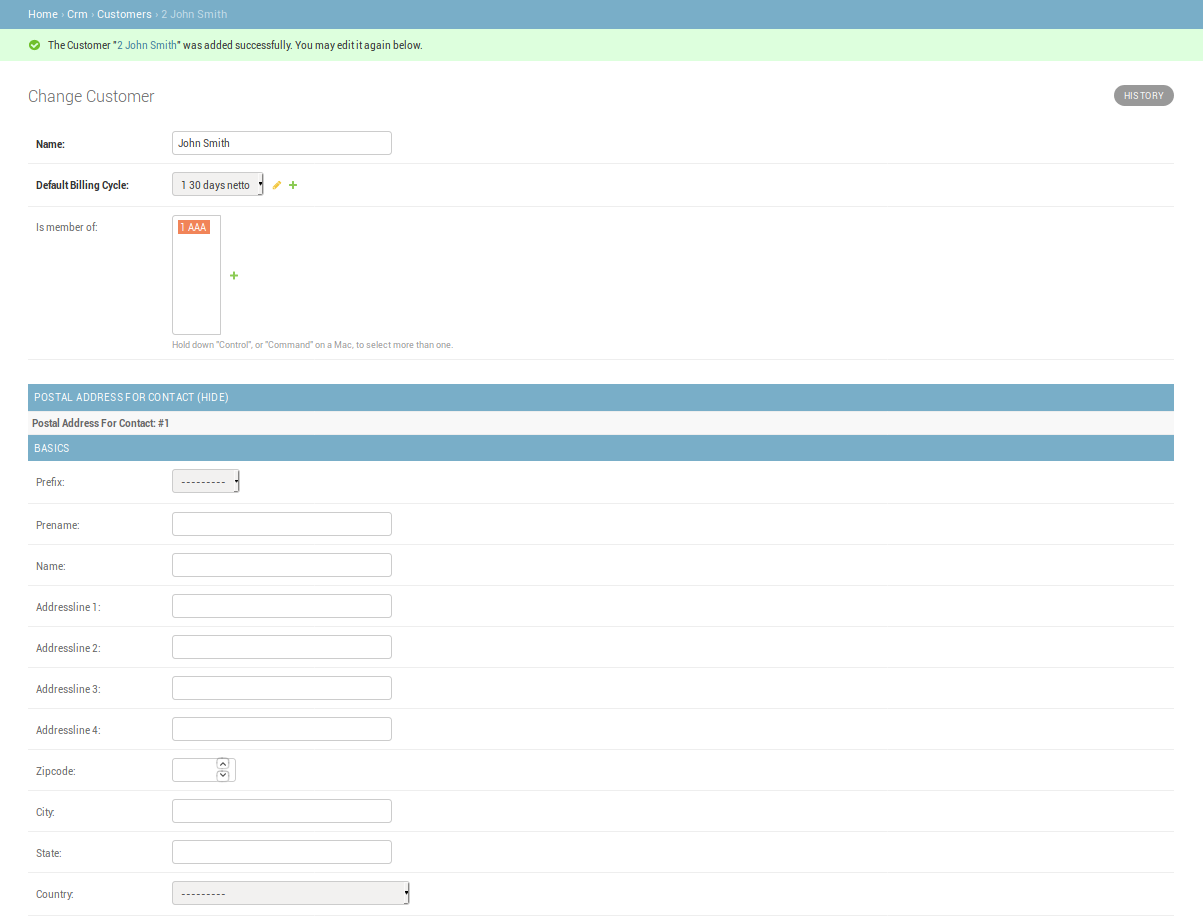
Lets say you logged into the system as a moderator with enough privileges to modify a customer. You first access the customer objects list. You will find your exiting list of customers on the screen

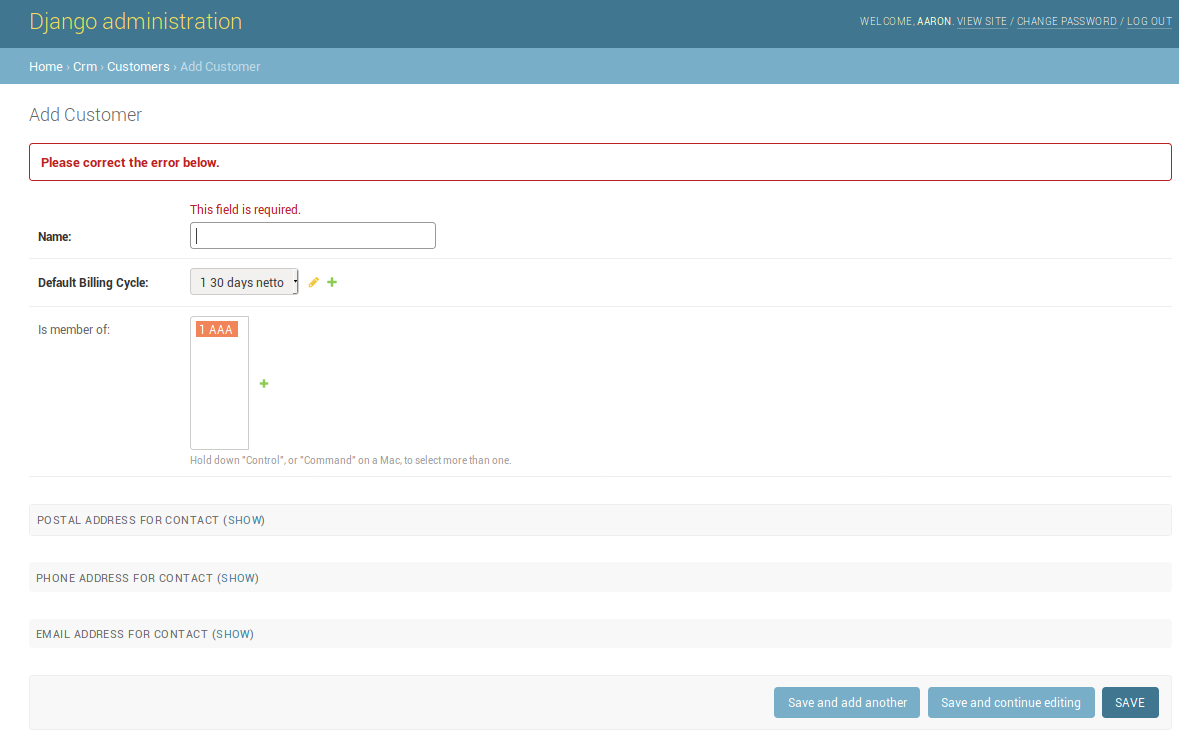
As soon as you press on the button “ADD CUSTOMER”, the browser will load a new screen: The “object modify view”. In the modify view you will find several fields to fill out. As soon as the fields have been filled out you can press the “SAVE” button at the bottom of the page. The field entries are then transmit and validated by the application.
The fields which have a bold title are “must”-fields - they have to be filled out before saving the customer.
In case you have entered something wrong or invalid, the application will complain and ask you to correct the invalid data.
Some of the optional fields are hidden (collapsed) by default. By pressing the “SHOW” button beside “POSTAL ADDRESS FOR CONTACT” you can expand these fields.